
Last updated September 10, 2026
Level 1 sweep and inspection to the NFPA 211 annual standard - flue, crown, cap, and flashing checked and photographed
Chimney sweep logs do not sweep chimneys. They loosen some creosote - which then falls where a brush and vacuum still have to collect it.
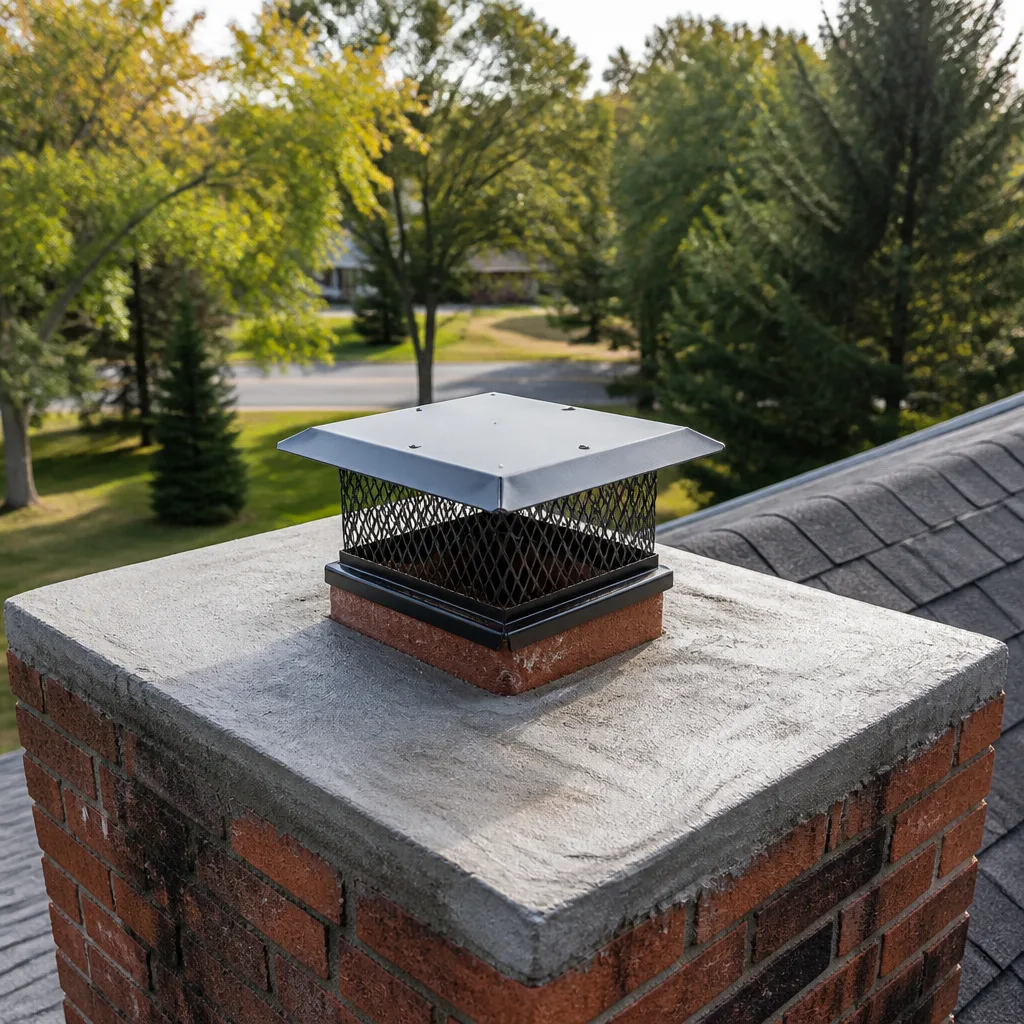
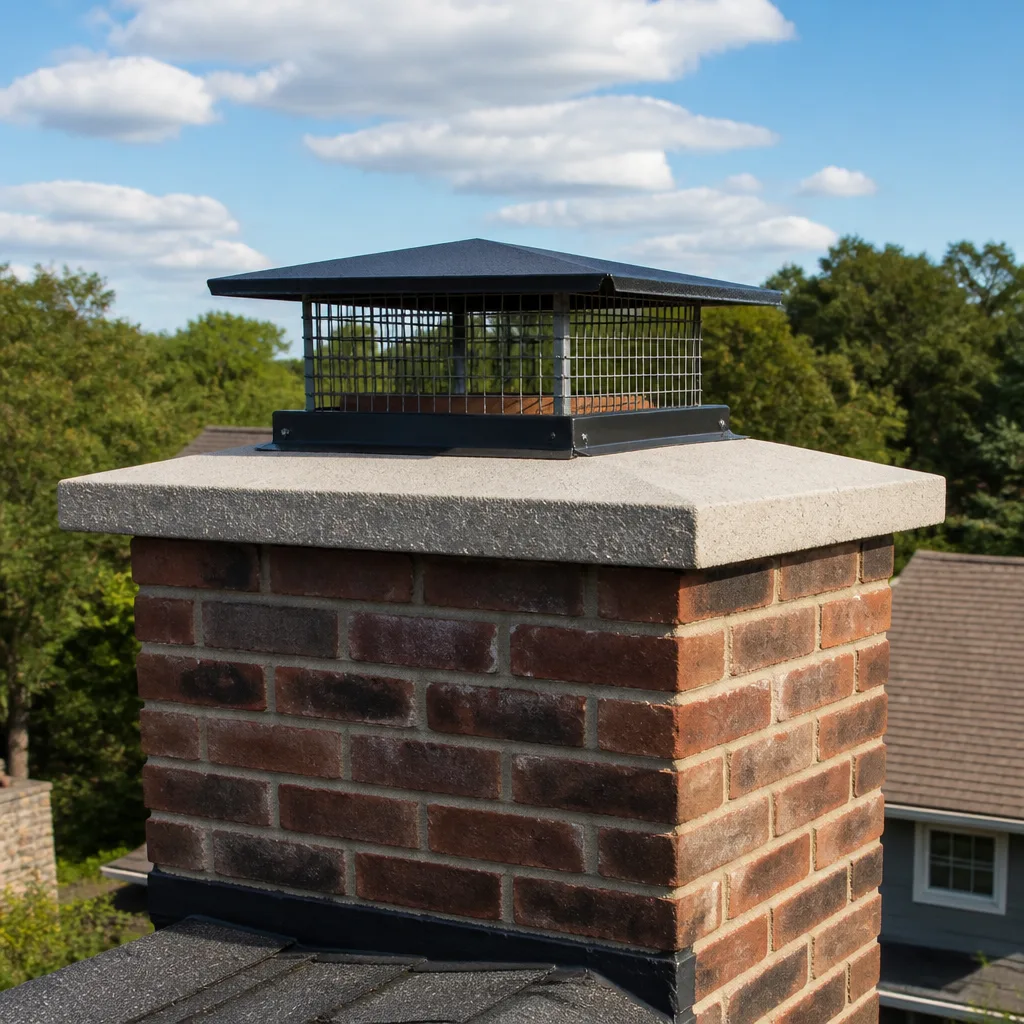
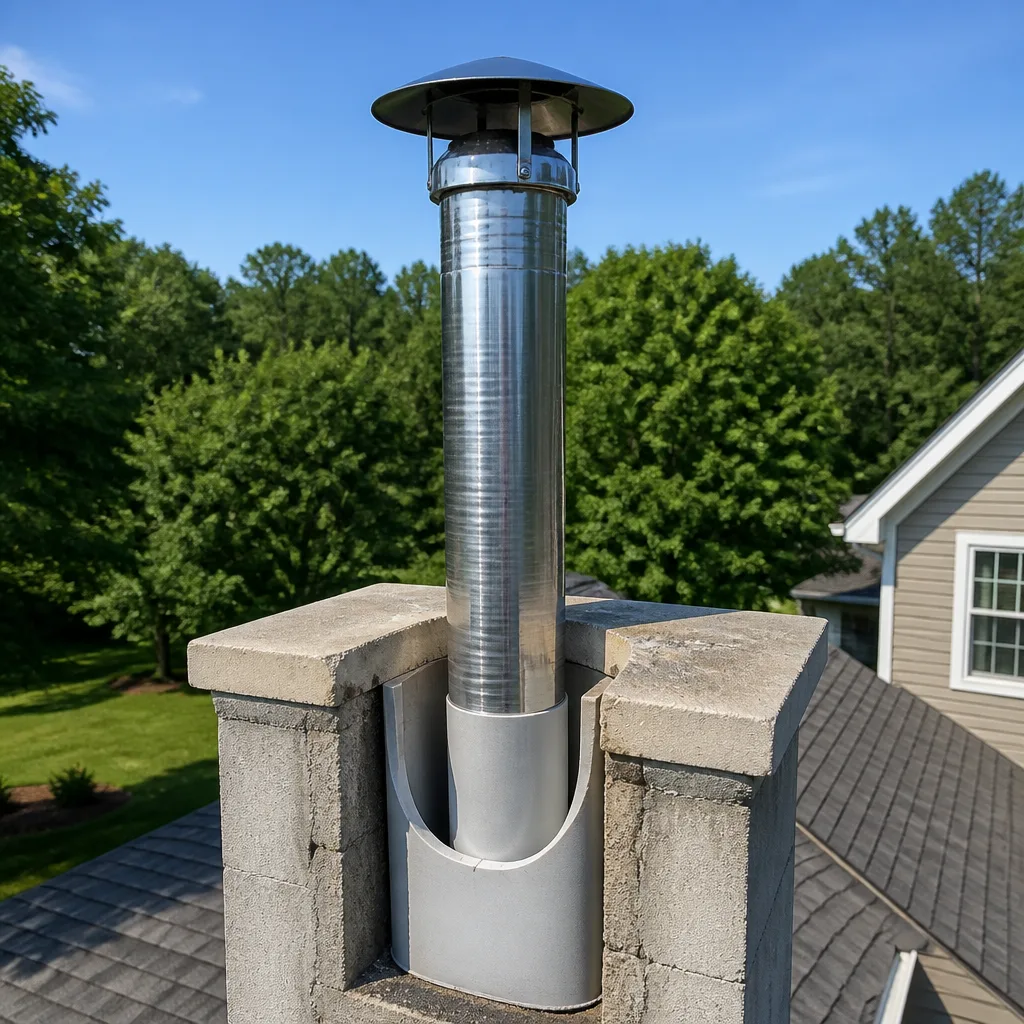
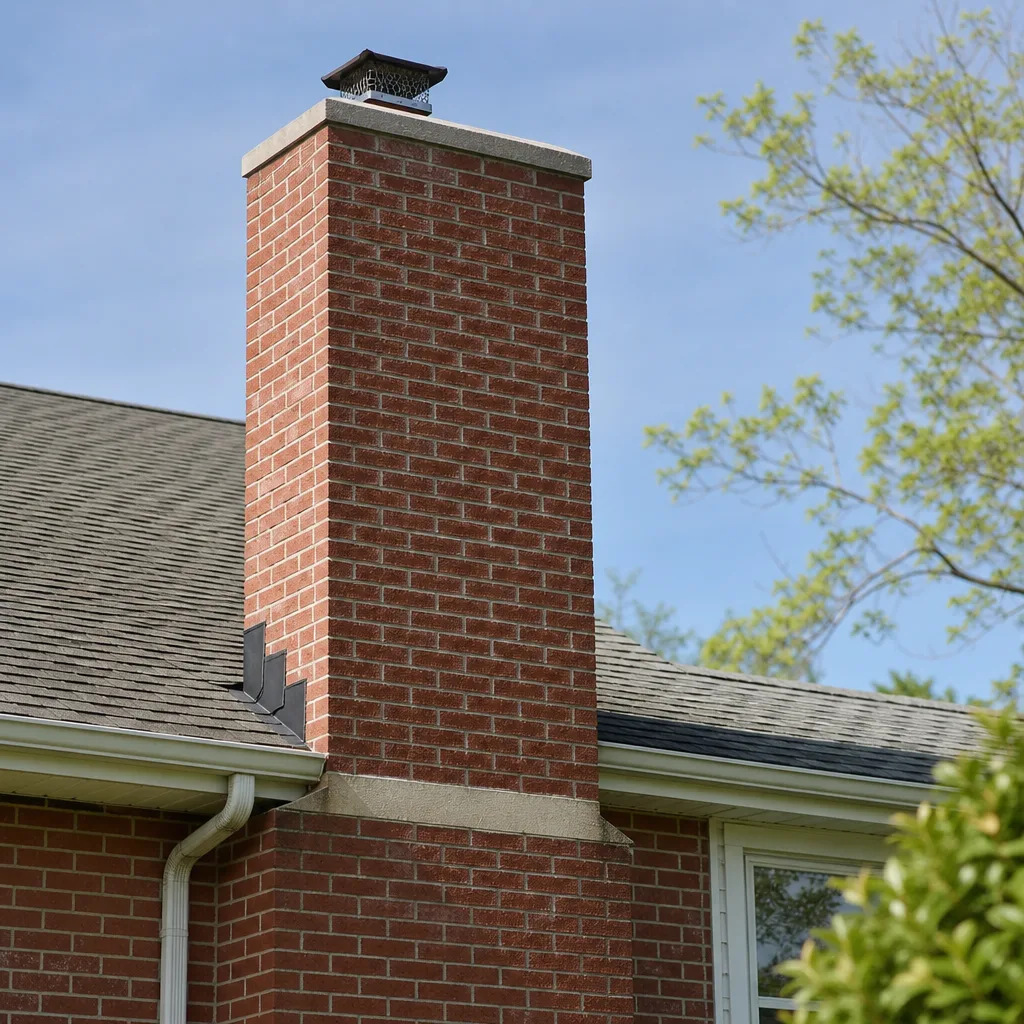
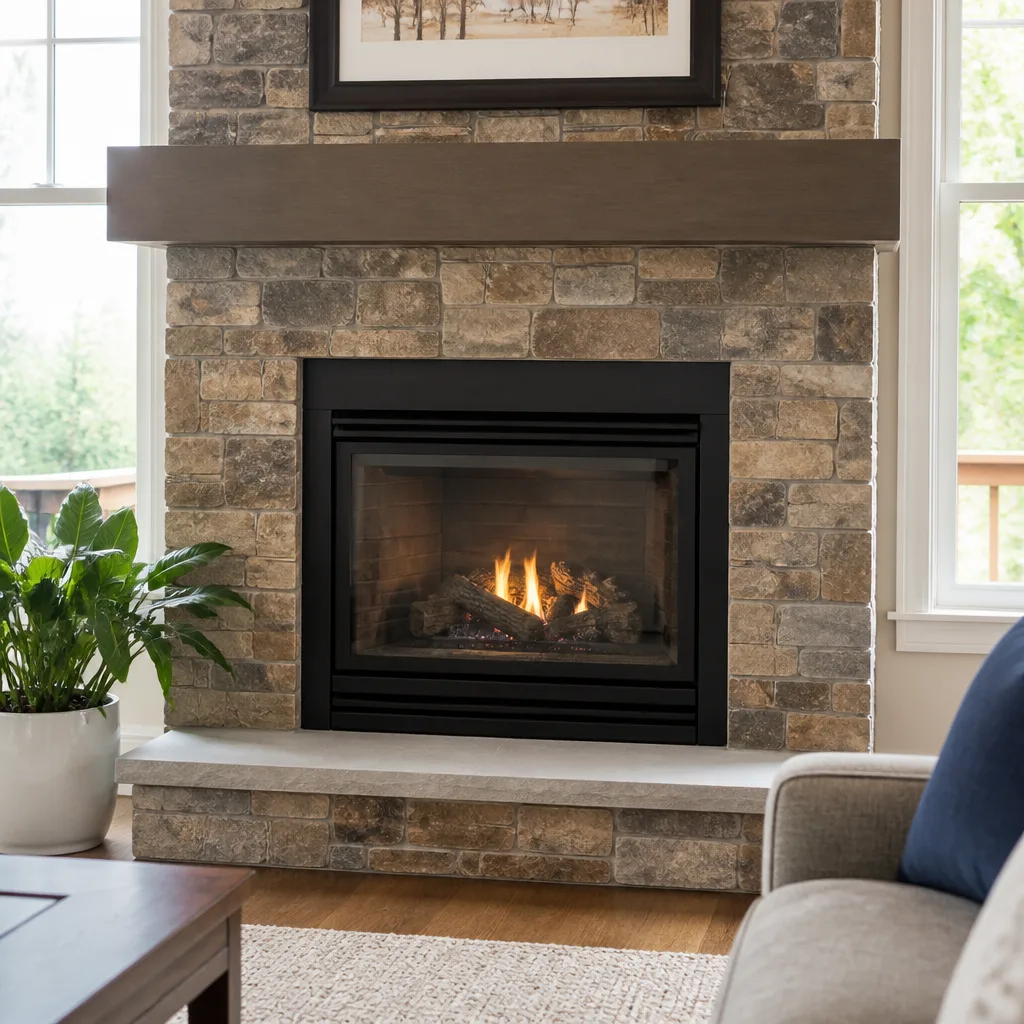
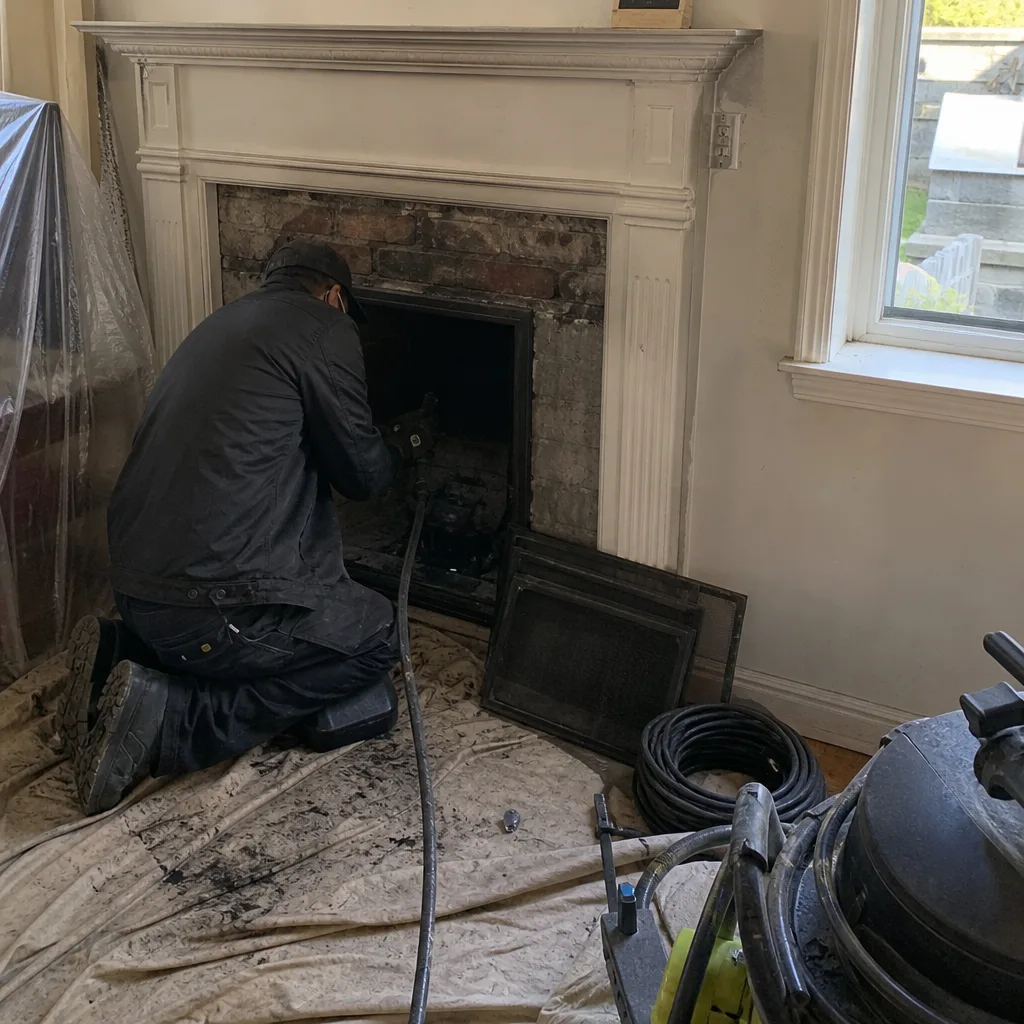 Before
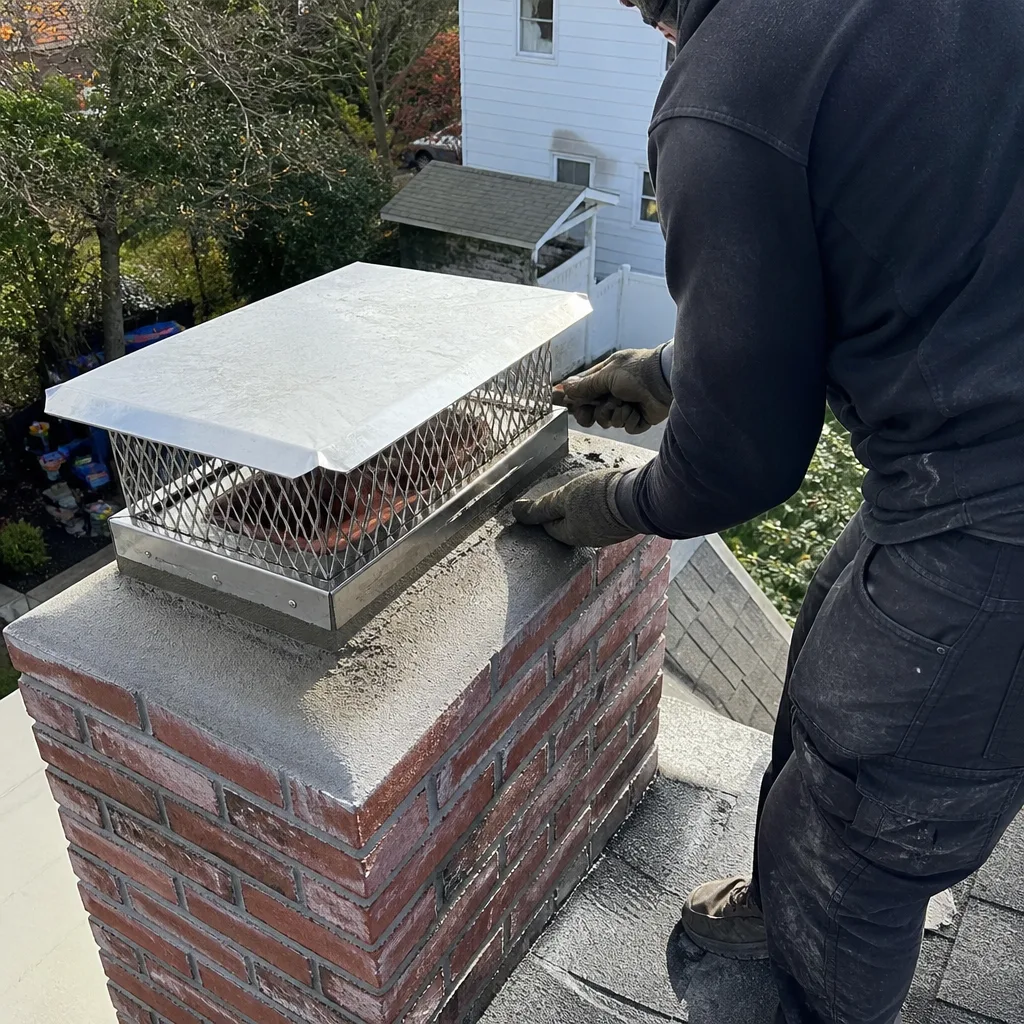 After
After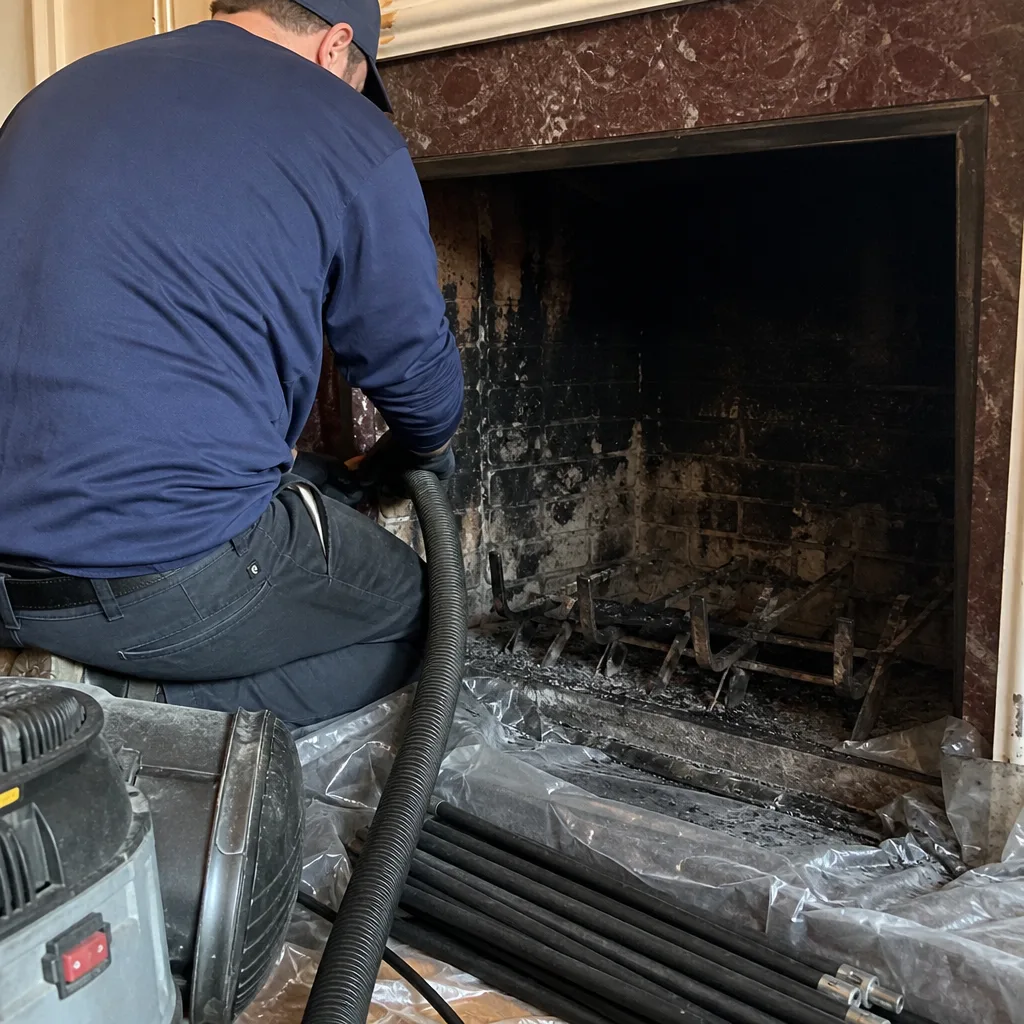 Before
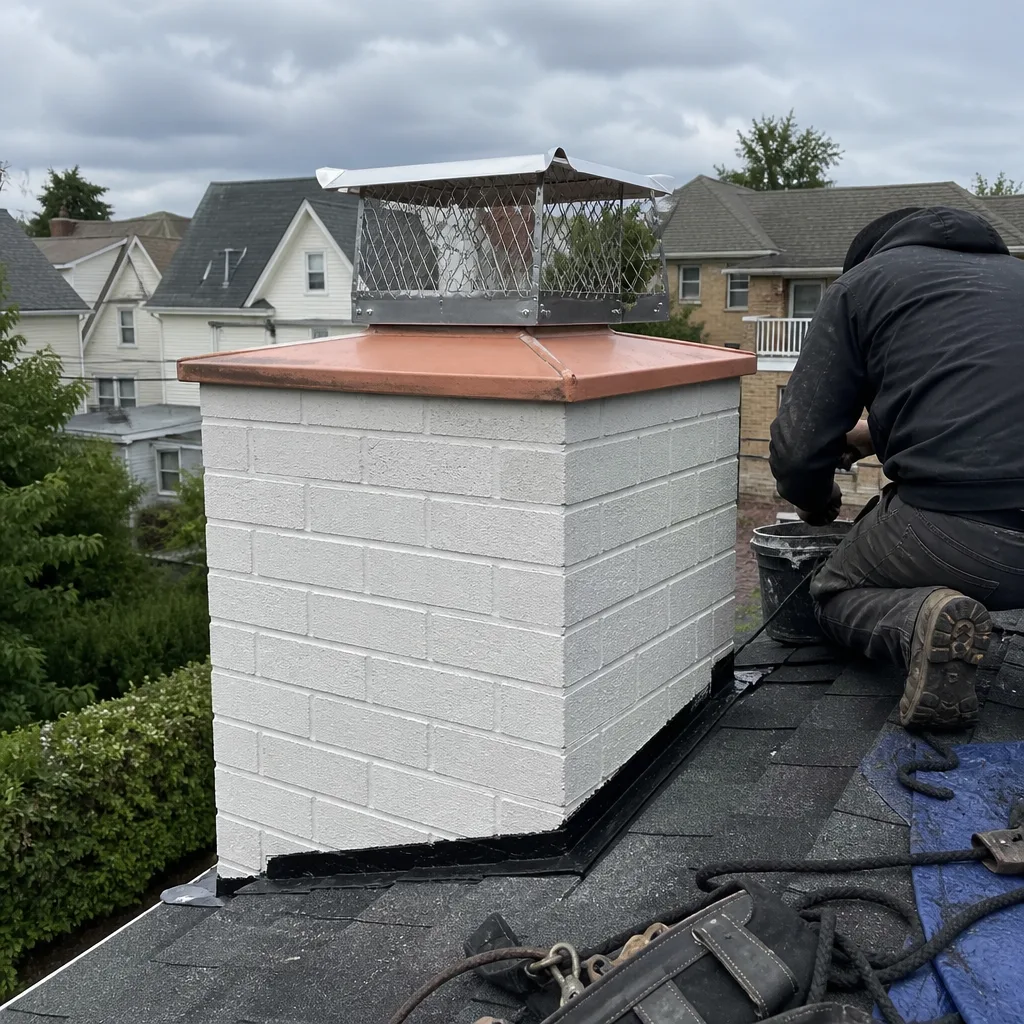 After
After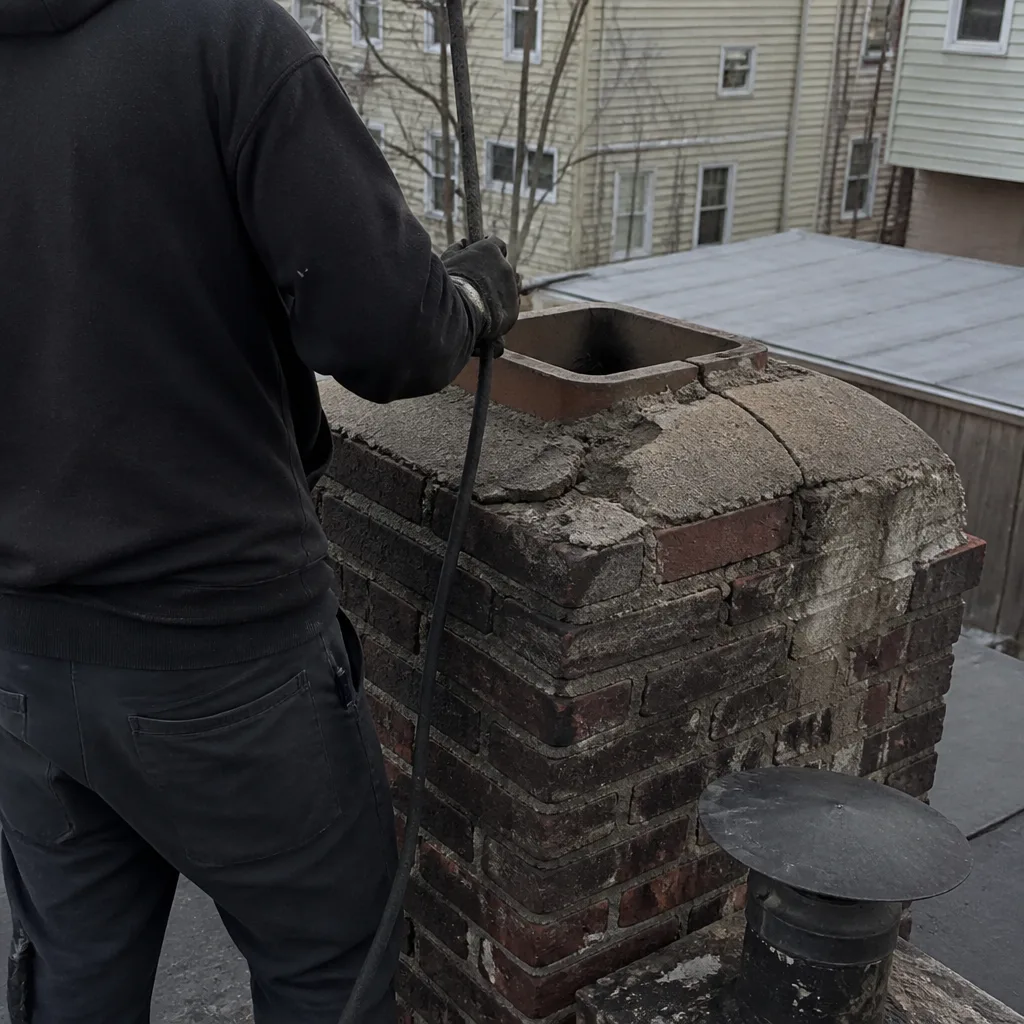 Before
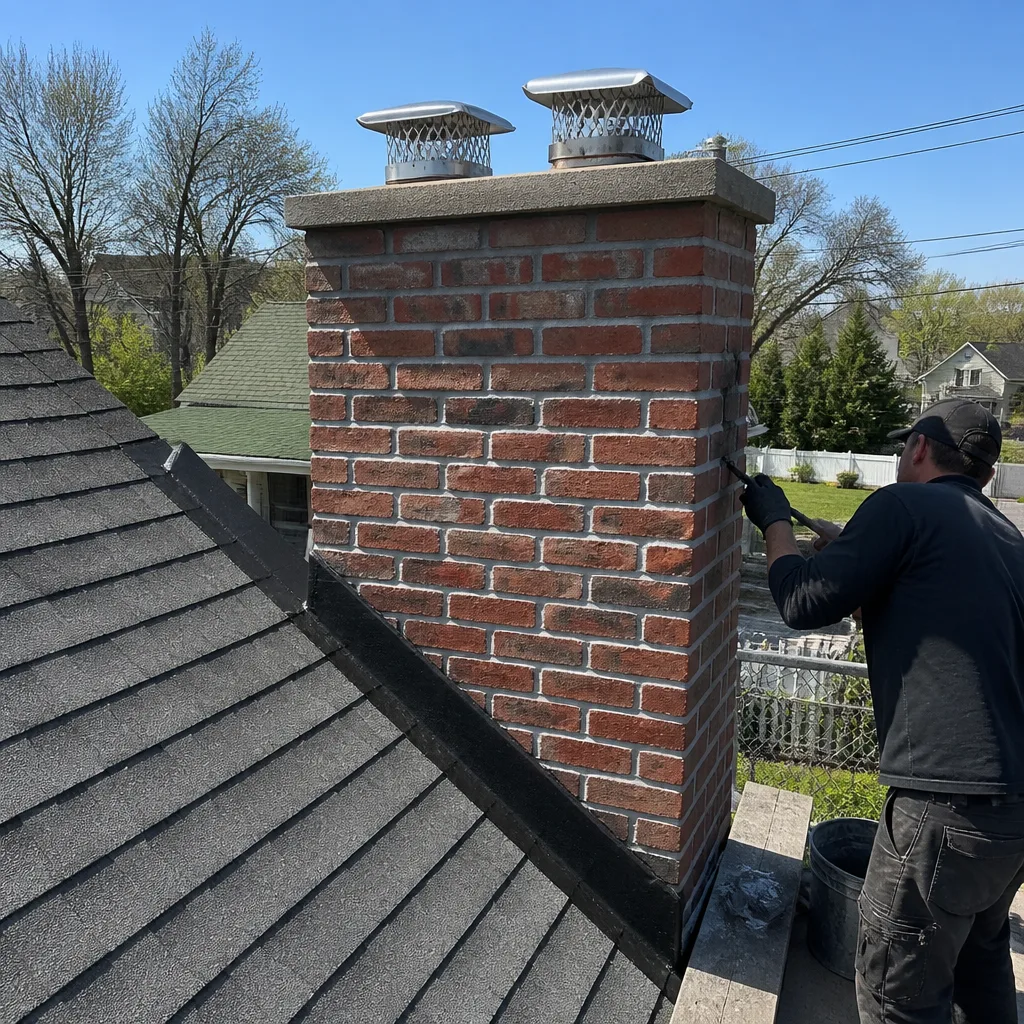 After
AfterChimney Cleaning & Sweep Maintenance Checklist for Astoria Homeowners
If your checklist starts at the firebox and works its way up, you’re reading the chimney backwards. Water doesn’t care how good your last fire looked. It enters at the crown, works down through the flashing, and by the time you see a stain on the ceiling or smell something musty in the living room, the damage has usually been underway for a season or two. This guide walks through what Wendell Pike actually checks at an Astoria address, in the order he checks it, with notes on what each finding means for the person standing next to him on the ladder. You’ll come away knowing what you can spot from the sidewalk, what requires a sweep on the roof, and which items genuinely can’t wait another year.
Quick Answer
A proper chimney maintenance checklist for Astoria homes runs top-down: crown, flashing, cap, flue liner, smoke chamber, damper, firebox, and hearth. Most houses need a professional Chimney Cleaning & Sweep and inspection once a year, burn or no burn, and the most common failures Wendell sees in Astoria are cracked crowns, missing caps, and third-degree creosote that started as a $200 cleaning and became a $3,000 liner job because it waited.
Table of Contents
- The Order Matters: Why Top-Down Is the Only Sequence
- Step 1: The Crown and Flashing
- Step 2: The Cap and Screen
- Step 3: The Flue Liner
- Step 4: The Smoke Chamber and Damper
- Step 5: The Firebox and Hearth
- Record-Keeping: What to Log and Why
- Common Mistakes to Avoid
- When to Call a Professional
- Frequently Asked Questions
- The Bottom Line
The Order Matters: Why Top-Down Is the Only Sequence
Most homeowners think a chimney inspection starts with the firebox because that’s the part they can see. But water enters from above, and gravity does the rest. A crack in the crown lets rain and snow melt into the masonry. Freeze-thaw cycles in Astoria winters, where temperatures swing from single digits to the low forties inside a week, widen those cracks every season. By the time moisture reaches the smoke chamber or the firebox, the homeowner has usually spent months burning fires and wondering about a damp smell. The sequence Wendell follows is the sequence damage follows: crown, flashing, cap, liner, smoke chamber, damper, firebox, hearth. Skipping the top means missing the cause and treating the symptom.
Astoria’s housing stock adds a wrinkle. Many of the row houses and older single-family homes near Astoria Park and along Ditmars Boulevard have chimneys that share a party wall with a neighbor. A crown failure on one side doesn’t always stop at the property line. Wendell has stood on more than a few Astoria roofs where the crack ran straight across the shared mortar line, and the water was getting into both houses. That’s another reason the top-down order matters: you spot shared-wall problems before they become a conversation with the neighbor about whose mason pays for the repair.
Step 1: The Crown and Flashing
The crown is the concrete or stone cap that sits on top of the chimney and sheds water away from the flue. A good crown overhangs the brick by at least two inches and has a slight slope so water runs off instead of pooling. A bad crown is flat, cracked, or missing an overhang. When Wendell finds a failed crown, what he’s really seeing is the start of every water-related problem further down. Spalling brick, deteriorated mortar, rusted dampers, stained ceilings. All of it traces back to water getting in where it should have been shed.
Flashing is the metalwork where the chimney meets the roof. It’s typically made of aluminum, copper, or galvanized steel, and in Astoria’s older homes, aged flashing is one of the most common failure points Wendell documents. Caulk and roof cement fail long before the metal itself does. Here is what we check, in order:
- Crown overhang and slope. Less than two inches of overhang means water runs down the brick face and soaks into the masonry. Pooling water on a flat crown is a year-one fix.
- Crown cracks. Hairline cracks widen with every freeze-thaw cycle. In Astoria, that means every winter. A crack wider than a dime is letting water through.
- Flashing seal. We look for lifted edges, missing fasteners, and old caulk that has dried and pulled away from the metal or the brick.
- Rust or corrosion. Galvanized flashing corrodes from the underside where it’s not visible from the ground. Rust stains on the brick below the roofline are the tell.
- Brick condition at the roofline. Soft, crumbling brick or missing mortar joints means water has been soaking in for years, and the fix is no longer just the flashing.
What you can check from the ground: visible cracking on the crown if you’re back far enough to see the top, rust stains below the roofline, and any obvious gaps between flashing and brick. What you cannot check without a ladder and roof access: the condition of the flashing underneath the shingles, hairline crown cracks, and the underside of the metal. That roof-level look is part of every chimney cleaning and sweep in Astoria we do, and we photograph everything so you’re not taking anyone’s word for it.
Step 2: The Cap and Screen
The cap is the metal lid that keeps rain, snow, and animals out of the flue. In Astoria, the animal part matters more than most homeowners realize. Pigeons and starlings nest heavily along the rooflines from Astoria Boulevard up to the Grand Central Parkway corridor. Wendell has pulled pigeon carcasses, starling nests, and enough twigs and feathers to fill a contractor bag out of open flues. A missing or damaged cap is an open invitation, and once a bird nests in the flue, you’re not just dealing with a blockage. You’re dealing with mites, odor, and in the case of starlings, nests that can fill a flue in a single season.
The screen is the mesh that wraps the cap and keeps small animals and debris out while still letting smoke escape. We check for:
- Cap presence and fit. A cap that has shifted or lifted off center leaves a gap along one side, and birds find those gaps fast.
- Screen condition. Torn or rusted screen lets small birds and rodents through. We’ve found squirrels in Astoria flues more than once.
- Cap storm damage. High winds off the East River take caps with them. After any bad nor’easter, a quick check from the street can tell you if the cap is still sitting where it belongs.
- Nesting season timing. Starlings nest from March through June in this area. If you hear scratching or chirping from the flue during those months, don’t light a fire. Have the nest removed before you do.
A missing cap is one of the few items on this list that qualifies as urgent, and it’s an inexpensive fix. A basic stainless cap with screen runs roughly $150 to $300 installed in Astoria. The alternative, a blocked flue or an animal in the house, costs a lot more. Top Hat Chimney stocks stainless caps and installs them same visit when needed, with the price agreed to before we start.
Step 3: The Flue Liner
Your flue doesn’t care how the fire looks. It cares how it breathes. The liner is what carries smoke and hot gases from the firebox up and out. In older Astoria homes, unlined brick flues are common, and they’re a problem waiting. Clay tile liners crack under thermal stress, and when they crack, the gaps let heat and gases into the surrounding masonry. That’s how a chimney fire starts, and it’s how carbon monoxide finds its way into a house without a single visible sign.
Here’s the honest version. First-degree creosote is a brush job. It’s the fluffy, dusty deposit that comes off with a sweep. For more on spotting trouble early, see our Chimney Cleaning Warning Signs: A Astoria Homeowner’s Reference Guide. Third-degree creosote is a glaze, hard and shiny and baked onto the flue walls. It does not come off with a brush. It requires chemical treatment or mechanical removal, and it’s the direct result of burning unseasoned wood, smoldering fires, or restricting air intake. In Astoria, Wendell sees third-degree creosote most often in flues that serve older open fireplaces in prewar buildings, where the homeowner has been burning whatever came from the corner store rack for years.
What we look for in the liner:
- Creosote thickness. Anything over a quarter inch is a fire hazard and needs to come out before the next burn.
- Cracked or missing tile sections. We document these with a camera. The footage goes in your report, and you decide with us what gets done next.
- Warped stainless liner. In homes with previously installed steel liners, buckling or corrosion at the seams means the liner has seen a chimney fire or years of acidic condensate.
- Gap between liner and masonry. A liner that has pulled away from the flue wall creates an air gap that changes draft and traps heat. Insulation or a new liner may be the fix.
When a liner has failed beyond patching, we recommend a stainless steel replacement from a brand like Olympia Chimney or Gelco, installed and sized to the existing flue. We also work with HeatShield for flues where cracked joints can be restored without a full liner replacement. The camera footage and a plain-English verdict, every time, no exceptions. You’ll see what we see, and if the liner can wait a season, we’ll tell you that too.
Step 4: The Smoke Chamber and Damper
The smoke chamber is the angled section above the firebox that funnels smoke up into the flue. It’s out of sight and out of mind, and it’s where gaps and cracks quietly steal smoke from the flue and leak it into the house. In older chimneys, the smoke chamber was often built without a smooth parge coat, which means rough brick and mortar joints trap creosote and disrupt laminar air flow. A smooth, insulated smoke chamber drafts better and builds less creosote.
The damper is the metal plate that closes the flue when the fireplace isn’t in use. Here is the quick test we run on every inspection:
- Does the damper open fully? A damper that won’t open all the way restricts the smoke path and pushes smoke back into the room.
- Does it close completely? A damper that won’t close or seal lets house air escape up the chimney all winter. That’s heated air you paid for leaving through the roof, and it also creates a path for cold air to pour down into the living room on windy nights.
- Is the damper frame cracked or rusted? Cast-iron dampers warp and rust with age and moisture. Once the frame is compromised, the seal fails even when the damper closes.
- Is the smoke chamber parged? A missing or deteriorated parge coat is a code issue and a draft problem. The fix in many cases is a spray-on chamber coating, which we do with a single visit and no masonry tear-out.
If you hear a metallic clatter when the wind blows, that’s your damper flapping. If you smell smoke in the house when the fire is lit, even with the damper open, the smoke chamber is the next place we look after the cap and liner. These are the kinds of findings that show up on a written report with photos, so you have a record of what’s changed since the last sweep.
Step 5: The Firebox and Hearth
The firebox is the chamber where the fire actually burns. Firebrick and refractory mortar are built to take heat, but they don’t last forever. We look for cracked or missing firebrick, deteriorated mortar joints, gaps at the back wall, and anything that looks like the fire has been burning too hot for too long. A cracked firebox lets heat reach the framing behind the masonry, and that is how house fires start from inside a fireplace.
The hearth extends in front of the fireplace and protects the floor from embers and falling logs. We check that the hearth depth and extension meet code for the size of the firebox opening. In older Astoria homes, we sometimes find hearths that are too shallow for the fireplace they serve, which means the previous owner either changed the firebox opening or never had the hearth brought up to code. This is not a cosmetic problem. An undersized hearth is a fire hazard.
Ground-level checks you can do any time:
- Look for cracked or crumbling firebrick in the back and side walls of the firebox.
- Check for gaps where the firebox meets the hearth.
- Look for rust stains or white efflorescence on the firebox walls, which mean water is getting in from above.
- Measure or estimate the hearth depth. If it seems short for the opening, ask a sweep next time one is on site.
Firebox repair is not a DIY task. Refractory mortar mixes need to be matched to the existing brick, and the fix needs to handle repeated thermal cycling. We do these repairs as part of our broader chimney repair work in Astoria, and we’ll show you the failed section before we cut it out.
Record-Keeping: What to Log and Why
Most homeowners in Astoria cannot tell you when the chimney was last swept, what the sweep found, or whether the liner was replaced in 2009 or 2016. That’s not a criticism. People don’t keep chimney files. But when a problem shows up, the next sweep is starting from zero, and that costs time and money. Wendell keeps a small paper log taped inside the cleanout door of every house he’s worked on more than once. The idea is simple: whoever opens that door next, whether it’s us or someone else, knows what happened before.
Your log should include:
- Date of every sweep or inspection.
- What was found. Creosote thickness, liner condition, crown cracks, animal activity.
- What was done. Cleaning, cap replacement, liner repair, chamber coating.
- Photos or reports. Each inspection report should include camera footage of the problem areas.
- Next recommended service date. A year out is the default, but some flues warrant a follow-up sooner.
If you have a report from a previous sweep and you’re bringing in someone new, show it to them. A good sweep will want to see the history. The previous findings tell us where the trouble was and what was done, and that means we spend less time diagnosing and more time fixing. Top Hat Chimney provides a written report with every fireplace service in Astoria, with the photos and the plain-language notes, and we encourage you to keep that report somewhere you’ll actually find it.
Common Mistakes to Avoid
- Starting the inspection at the firebox. By the time a problem shows up inside, the water or fire damage has already run through the chimney from the top down. Start at the crown.
- Skipping the cap check. In Astoria, with the pigeon and starling population along the rooflines, a missing cap is a guaranteed blockage or nest, not a hypothetical.
- Burning unseasoned wood to save money. Wet wood smolders and creates creosote faster than any other single habit. You’ll pay for the cleaning and possibly the liner work later.
- Using chimney cleaning logs instead of a sweep. Chemical logs knock loose a little creosote. They don’t remove it, and they don’t inspect the crown or flashing. They’re a supplement, not a substitute.
- Ignoring a rusted damper. A damper that won’t close is an energy leak every day of heating season, and a rusted frame only gets worse.
- Not logging prior work. Without a record, every new sweep starts blind, and you’ll pay for diagnosis you could’ve provided with a one-page note.
- Waiting for smoke problems before calling. Once smoke backs up into the house, the flue was already compromised. Annual checkups catch the problem before it becomes a smoke event.
When to Call a Professional
Call a professional if you see cracked brick or missing mortar on the exterior chimney, if you smell smoke in the house during a fire, if you hear birds in the flue during nesting season, or if you haven’t had a sweep in over a year. Also call if you see water stains on the ceiling near the chimney or rust streaks below the roofline. These are signs the crown or flashing has failed, and the fix starts with a roof-level look. If your flue has third-degree glazed creosote, don’t attempt to remove it yourself; it requires trained handling and proper equipment. Top Hat Chimney home has been serving Astoria since 1999, and Wendell offers free estimates in the area. Call (929) 822-6306 and someone will answer, any hour, any day.
Frequently Asked Questions
Once a year, burn or no burn. Chimneys break in the off-season too. Water entry, animal nesting, and freeze-thaw damage happen whether or not you light fires. An annual sweep and inspection-see The Complete Guide to Chimney Cleaning in Astoria for the full process-catches the crown crack and the missing cap before they become expensive repairs.
A standard chimney sweep and inspection in Astoria typically runs between $180 and $350 depending on the flue type, accessibility, and how much creosote has built up. The exact number is quoted upfront before the tools come off the truck, and that’s the number on the invoice. No add-ons at the door. Call (929) 822-6306 for a specific quote.
Not necessarily. Some cracked tile liners can be restored with HeatShield, and some gaps are smaller than they look on camera. Ask to see the footage yourself. A straight sweep will show you the cracks and explain exactly why the liner does or doesn’t need replacement. If the liner can wait a season, Wendell will say so.
In most cases, creosote accumulates, and if it passes a quarter inch, it becomes a fire hazard. Water damage continues from whatever crown or flashing issue exists. A skipped year here and there doesn’t guarantee a problem, but it means the first sign of trouble is usually more expensive to fix. The annual visit is the cheap version.
You can brush a chimney from the top if you have the right rods and brushes and you’re comfortable on a roof, but you cannot inspect the liner or smoke chamber from inside the flue without a camera, and you can’t repair glazed creosote or a failed crown with a brush. The camera footage and the trained eye are the difference. DIY cleaning is also how homeowners miss cracked liners and missing caps, which are the things that actually cause fires and water damage.
Rust streaks or staining on the brick below the roofline, white efflorescence on the firebox walls, a damp or musty smell near the fireplace, and water stains on the ceiling next to the chimney. All of these trace back to the crown or the flashing. The fix starts with a roof-level inspection, not with patching the ceiling inside.
The Bottom Line
A chimney maintenance checklist for Astoria homeowners starts at the crown and works down, because that’s the direction water and damage travel. For more guides & resources, visit our blog. Check the cap before the firebox. Log every finding. An annual sweep and inspection costs a couple hundred dollars and catches most problems before they become thousands. If you hear birds in the flue, see rust below the roofline, or smell smoke in the house, call someone who puts a camera in the flue and shows you the footage. Ask anyone on your street. Wendell has been at this since 1999, and the work comes with a 90-Day Done Right Promise in writing.
Written by Wendell Pike, Owner at Top Hat Chimney, serving Astoria since 1999.